What Is Facebook Canvas: A Complete Guide
[Free Consultation] Are you spending money on advertising but not getting the results you want? Are you looking for more sales and leads but have no idea where or how to start? Get help from our world-class marketing experts in a free consultation call.
Click Here To Schedule Your Free Consultation Now
Facebook Ads is always coming out with new and exciting ways to interact with your customers and drive both engagement and conversions. Image carousel ads and lead ads are two strong examples of this, each of which serves different purposes for marketers. With image carousel ads, you can tell a story or feature multiple products; lead ads are designed to get as much lead information as possible.
Facebook Canvas is the newest feature that’s just recently been mass-rolled out to businesses and advertisers, and it’s definitely different from what we’re used to.
In this post, we’re going to look at what Facebook Canvas is, how it can be used, why you should use it, how to create it, and more.
What Is Facebook Canvas?
Straight from the mouth of Facebook: “Canvas is an immersive and expressive experience on Facebook for businesses to tell their stories and showcase their products.”
In other words, it’s a type of interactive content that businesses can create. One option, for example, features an image with a tag that says “Tap to Open.” Once users click on it, the picture will take them to a full-screen ad which has multiple slides that they can scroll through. Each screen, if you choose, can have a clickable link to take users to your site, and you can have a very simple call to action like “click to shop now.”
Canvas is designed to help businesses tell a narrative that consumers will enjoy and is also productive for their business. They’re also highly customizable.
Canvases can be viewed only by users who are actively using their mobile devices and works on both iOS and Android.
Until recently, only a few big name brands, such as Universal Studios, Wendy’s, and Target, had access to Facebook Canvas while it was in beta testing.
Why Use Facebook Canvas?
Facebook Canvas posts and ads are different, and they’re interactive. They’re different than any other type of content we currently see on Facebook, which makes them more interesting to users.
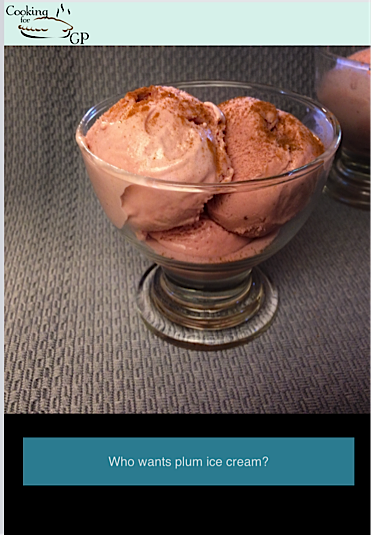
A few months ago, I saw a Facebook Canvas ad from Universal, and even though I didn’t know what it was at the time, it caught my attention enough that I took a screenshot of it to research later. That screenshot is pictured below:

Canvas is currently a mobile-only experience and is designed for users to continue to swipe through what I call “pages” or slides of content within a single canvas (much like scrolling down in an article, which takes you away from your Newsfeed but keeps you within the Facebook app). This is significant because:
- 78% of Facebook Advertising revenue comes from mobile ads.
- Out of the estimated 1.9 billion monthly users currently on Facebook, 1.19 billion access this platform on their mobile devices, with 581 of those users being mobile-only users.
- 75% of Facebook’s video views come from mobile.
These statistics show us that mobile usage is increasing, and that finding new ways to connect with mobile users can help businesses and the success of Facebook Ads.
Facebook Canvas also allows us to add more segments of information (text, images, videos, and CTAs) on a single post or ad, making them even more valuable. You can highlight more products, showcase more use cases of a single product, or use Canvas to tell a narrative that will keep your audience engaged and help build brand rapport.
How To Create Facebook Canvases
Creating Facebook Canvases is actually easier than I’d thought they would be; like all of Facebook, the creation process is user friendly and really simple.
There are a ton of options to choose from, allowing you to customize almost every single aspect of the Canvas. This can be overwhelming at first, but remember, you can always create multiple canvases and test them to see what works best for you.
This tutorial will show where to access the canvas builder, how to use the canvas builder to create new canvases, an overview of different visual options, recommended image specs, and how to run campaigns with completed canvases.
Where To Find Canvas
Facebook Canvas is now available to just about everyone through Power Editor. To access Canvas through Power Editor, you’ll need to create a new ad at the actual ad level. Choose an ad with an image or video.
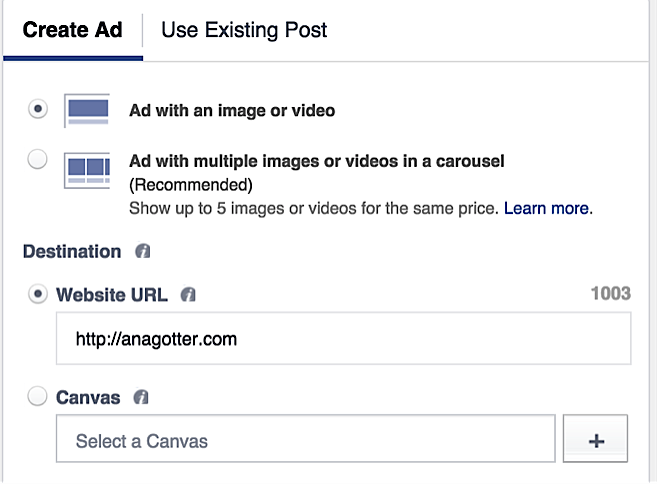
Below the website URL you’ll see the option to choose a canvas. You can create one by clicking on the + next to it.
Once a canvas has been built in Power Editor, the completed canvas is accessible through your Page’s publishing tools and composer for you to use.
If you’re not a fan of Power Editor and don’t want to use it to create a canvas, you can request to have access to the Canvas Builder from your Page. Some users may have it already.
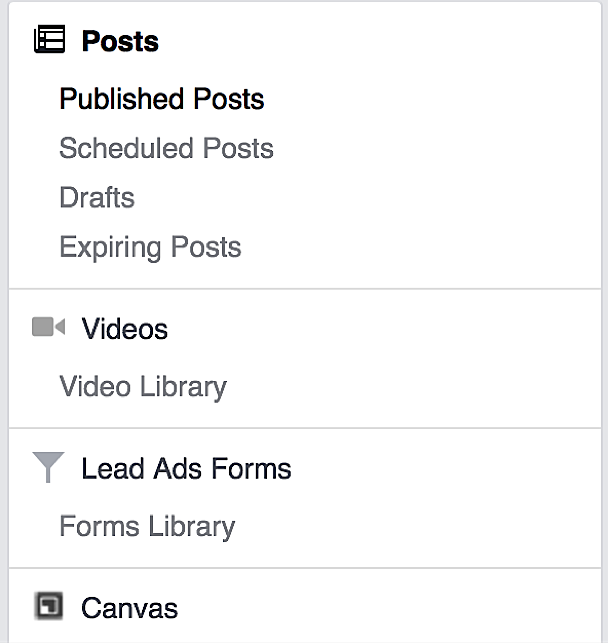
To find Canvas from your Page, go to Publishing Tools.

From there, scroll down until you see Canvas, if you have access to it.
You can request access here if you don’t have it already.
Creating the “Home Page” of Your Canvas
For this tutorial, I’m going to show you how to create a Canvas from the Page manager, but the builder looks like same both there and in Power Editor.
Again, to find Canvas from your Page, go to Publishing Tools, and then scroll down to Canvas.
From here you’ll be able to view your current and already-created Canvases, and you’ll be able to create new ones by clicking on the blue “+Create” button in the top right hand corner.
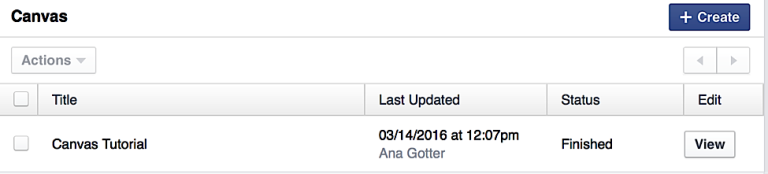
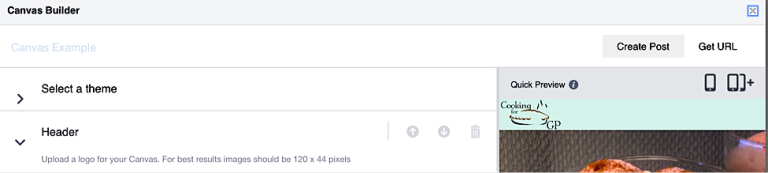
This will open the Canvas builder, where you’ll immediately be prompted to name your Canvas.

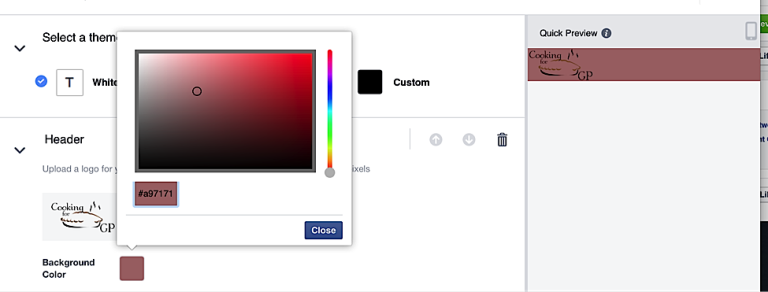
You then select a theme for your Canvas. You can choose a white, black, or custom theme.

The theme determines how the bottom of the canvas will look. The theme you choose will be the background color of the non-image space.

In the Header section, you can upload a logo for your Canvas. You can see how that will appear in the quick preview on the right hand side.
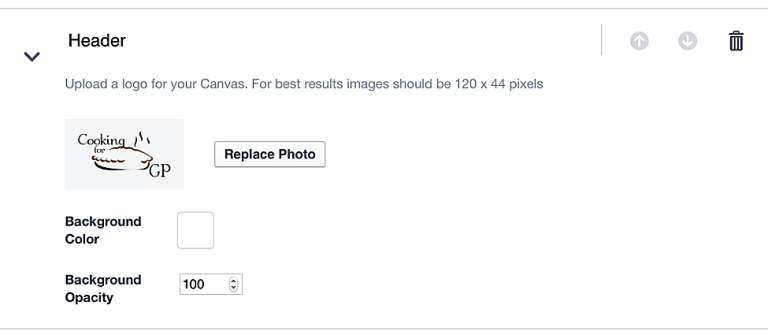
In this same section, you can also choose a background color for your header, and the background opacity (how translucent the background header will be). Because I chose a logo from my site that will adapt to any background, that held true here.
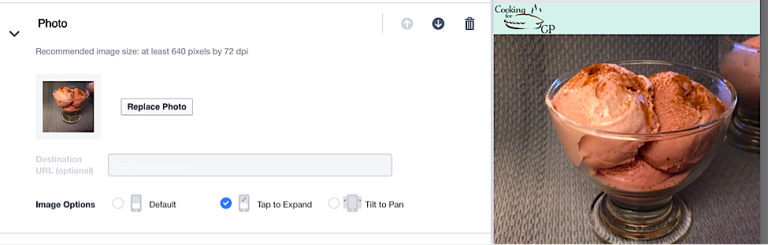
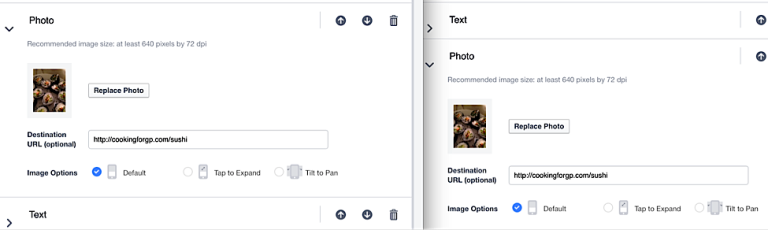
In the next section, you’ll upload a photo and choose the format of your “home page” for your canvas. You’ll first upload a photo, which will take up the majority of the front page. You then choose from the image format options, which we’ll discuss in the next section of this post.
In the next section of the Canvas creator is the “Button” section. Fill out the text for the button that users can click on. This button will take users to a destination URL, so the text needs to be brief.

In the button section, you can choose a font for your button’s text, the size of the text, how much space you want above and below the line of text, the color of the text, and additional features like bold, italics, and underlining.
Once you have the text formatted, you can also customize the clickable button. You can choose the color of the button and whether you want that color to fill it or just a border, and whether you want the button to fall in line or be fixed to the bottom of the canvas. Once you’ve made these decisions, your “home page” for your canvas is complete, and you can add more components.
Canvas’s Image Options
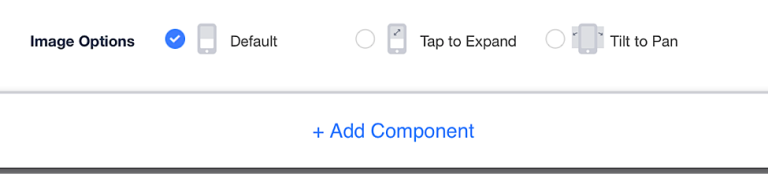
When you’re creating your canvas, you’ll be given three different options for the format of the front page of your canvas.

These options are:
- Default. The image takes up most of the screen, with no interaction needed to view it fully. Entering a URL destination is only available with this image option.
- Tap to expand. When users tap the image, they’ll see it on their full screen, and can zoom in on the image.
- Tilt to pan. With this option, users will tilt their device to rotate the image from side to side, making the image interactive and dynamic.
All three image options work for different images and different types of campaigns. Test them out using different images (and with different objectives) to see what works best for you.
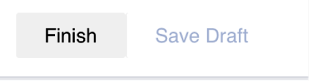
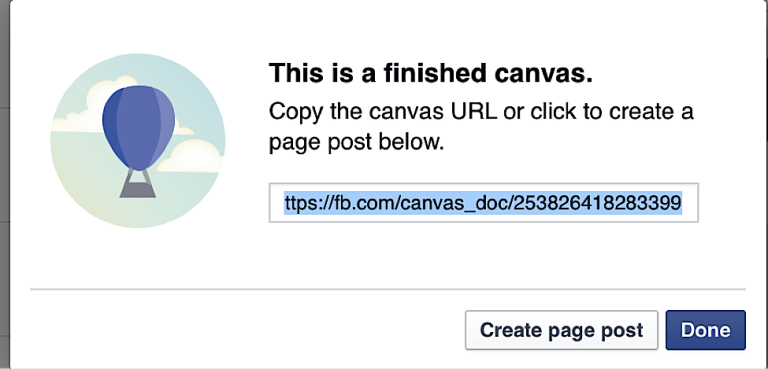
Once you’ve completed your canvas (additional components and all), click on Save Draft, which can be found above the Quick Preview of your Canvas, then hit Finish. You need to save it before Facebook will let you finish it. Keep in mind that once you hit that Finish button, Facebook will generate a URL that you can attach to your ad, and you won’t be able to edit it again.
Adding Components to Your Canvas
Once you’ve completed the “home page” of your canvas, you can choose to add more components to it. These components are a large part of what makes canvas posts and ads so great—they’re interactive, and offer more information and images to users viewing them.
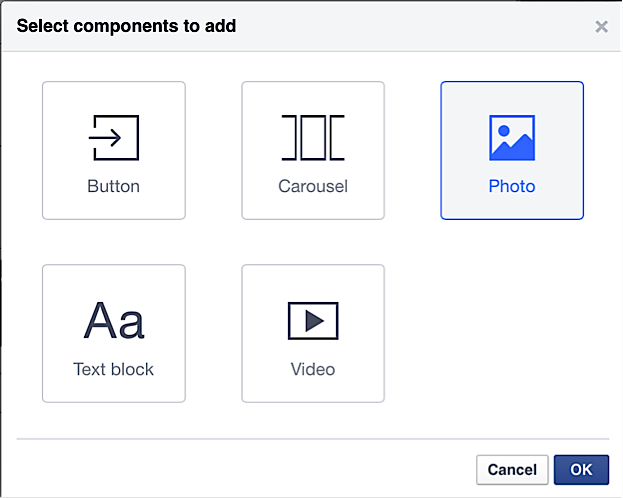
When adding components, you can choose to add:
- A button
- An image carousel, which requires you to upload at least two images that users will scroll through vertically (instead of horizontally)
- A photo
- A text block, which is not clickable like a button, but can have much more text than a button
- A video
To add a component, click on the “Add Component” button at the bottom of the canvas builder.
You’ll then be asked what type of component you want to add. You can select multiple components at a time, which will be added, in order, to your canvas.
The components can be reordered by clicking the up and down arrows next to the trash can (which will delete a component entirely).
Your header will always stay at the top of your canvas as you—and users—scroll through different components.

Recommended Specs & Usage
For best visual results—and to have your content accepted onto a Canvas—there are certain recommended specs and usage to keep in mind when creating it. These come from Facebook directly, and include:
- The logo’s recommended specs are 120×44 pixels
- Recommended image size for the main image is 640 pixels by 72 DPI
- The text for a button needs to be brief, and it seems to need to fit on one line, with the text size being 14
- Image carousels need to have at least two images, and the images need to be the same size. Image carousels also can’t have the “tap to open” image option.
- Videos need to be under 2 minutes, and it’s recommended that you add captions so people can engage without audio. Tap to open is also not available for video components.
Creating a Canvas Ad
After you’ve created your Canvas (and double checked it for spelling errors!) and hit the Finish button, you can view your ad.
When you select your finished canvas, you have the option of turning it into a page post right away, or copying the canvas URL.
To create a canvas ad in Power Editor, you can create a new canvas or select a previously made canvas when creating a new ad.

You can then create the rest of your ad as you normally would.
Final Thoughts
Facebook Canvas is new and it’s different, which automatically makes it exciting to both users and marketers. With more and more users shifting to the mobile platform and increasingly accessing Facebook on their mobile devices, using Canvas to appeal to them can have strong and positive results.
Creating a Canvas is simpler than expected, but overwhelming if you get lost in the details. By focusing on a specific goal that you want your Canvas to accomplish—or a story that you want it to tell—you can create an effective marketing tool that can inform, entertain, and encourage sales among users.
Have you used Facebook Canvas yet? What components do you or would you use to create your Canvas? How will you use it to connect with new users? Share your thoughts, experience, and knowledge in the comments section below!